Showing posts with label A Scrapful Life. Show all posts

Wednesday, March 13, 2013

UFO/WIP: It's Beginning to Look Alot Like Christmas

After seeing the fabrics I picked for this month's personal challenge is it any wonder I am focusing on Christmas this month?  This is also my last chance to get completed projects for the first quarter of the 2013 Finish Along so I am in earnest about get these two projects completed.  I am already going to be honest and tell you that I have found a few more UFO/WIP projects in my search for crafting supplies!  Well, my Husband told me they existed but I do not want to to even look at them until I have done all that I can on my current list.


Christmas Advent Calendar: 
Christmas Advent calendar
While cleaning up and arranging my crafting area, I found some thread that if it does not match, it is pretty close!  This wonky Advent Calendar will have itself finished before long!!  Look for it on a Friday Finish coming soon!

 Easy Street Mystery Quilt (Christmas lap Quilt):


I have been using the other half of this quilt as my Leaders & Enders project in between and around other projects (See Quiltville blog), but it is time to step things up!  All of the 4-patch blocks & Flying Geese are assembled for this quilt, now I need to figure out what to do next.  I will have an updated picture next Wednesday; you may get on me if I do not!


* Shanna
Are you thinking of going scrappy this year or atleast focusing on using only your stash?  If you have time, link up your posts each month with your own personal challenges.  Check out my March post:  HERE

I am linking up to:

WIP Wednesday hosted by Lee @ Freshly Pieced

Sunday, March 3, 2013

UFO/WIP10: Marching On...

So we are two months down, with one month to go in the 2013 Finish-A-long.  I am doing another full update so this post shall be picture heavy, so please excuse the length, or well at least it shall be much longer than my usual long posts!  I AM making headway and I WILL get these projects completed eventually, even if it is not this Quarter.  I guess the biggest unknown is going to be what other unfinished projects will I find when we are able to unpack more of the boxes from our move last May??!!  I am dreading that as my list will look impossible then.  Sorry for using some old shots, I am hoping to take some new photos in a couple of weeks when things are less scattered.

Still In Process:

(Wonky) Christmas Advent Calendar:  I HAVE FOUND MATCHING THREAD!!!!! 
Dot Explosion Quilt:  I need to finish assembling rows, now going to make this one be a toddler bed/Crib Quilt sized, I was thinking Twin before, but it just wouldn't work in my brain.  
Easy Street Mystery Quilt:  all the 4-patch blocks & Flying Geese are assembled (I am making half the blocks required for a smaller quilt ), I am currently using this as my Leaders & Enders project in between and around other projects (See Quiltville blog). (Need updated picture)

Fish Quilt:  Frustrating and hated pattern but I am trying to complete anyways. Very Low on List.

I'll Fly Away Quilt:  I plan to use this one as my Leader/Enders project after the Easy Street Quilt.
March's Scrap Challenge Projects:  1 Project kit ready to go with fabric cut

Martinique Strip Quilt:  Need to assemble more strips, some are sewn into two strip blocks
Party Dress:  Close to a finish! [Project was Ziona's Birthday Dress]
Poppy Wall Hanging:  No progress for a while
Rainbow Block Quilt:   I have made this my orphan rainbow block quilt

Rose Star Quilt:   I have figured out a new pattern for this quilt; currently in 4-patch and 2-patch segments.  I plan to order some cream/off-white and some marble rose (Image) fabrics
Summersault Patch Quilt:  Need to assemble more strips, some are sewn into two strip blocks

Limbo-landed Items:
Chain Quilt:  Top is complete, back & bindings in process [POST]

Red Eye Quilt:  Top & backing complete, bindings are in process [POST]
Squares & Patches Quilt:  Top & backing complete, bindings are in process [POST]
Time Warp Quilt:  Top is complete, back & bindings in process [POST]
Zig-Zag Quilt:  Top is complete, back & bindings in process [POST]

New Items not on First Quarter List:
Birthday Bibs:  Started, post to come soon, hopefully as a finish!
Cousin #2's Dress:  Need to gather & make button loops and finish
Modern Squares Table Runner:  Needs backing, sandwiching and stitching!
Scrappy Hearts 1 Wall Hanging:  All of the mini-hearts complete, assembly required.
Scrappy Hearts 2 Wall Hanging:  Fabric cut (upper right quadrant), need to make hearts
Spring Checkers mini-quilt:  Pinned, but set to the side until I make up mind about colour of thread.

Completed Items:
Four Squares Weekend Quilt:  Complete.  [POST]
Playdate Dress:  Complete.  [POST]
Two + Two Blouse:  Complete.  [POST]

Completed Items not on First Quarter List:
Coming Soon


By the way, thank you for your patience with me on repeating items I have been focusing/featuring as I have been sick and have not been up to my peak level of, well, anything to be honest.  I have been required to take a rest this next week and plan to takeoff time from any most crafting while I recover.  Plus my husband will be working on rearranging our bedroom/craft room for me!  I will post some pictures when it is complete to show you the changes we will make.

Tomorrow I will get you caught up on all the BOM blocks I was working on yesterday, so see you later!


* Shanna

Are you thinking of going scrappy or focus on your stash this year?  If you have time, link up your posts each month with your own personal challenges.  Check out March's post:  HERE and the Flickr group:  A Scrapful Life..

I am linking up to:


2013 Finish-a-long hosted by Leanne @She Can Quilt
UFO Sunday hosted by Leah @ The Free Motion Quilting Project
WIP Wednesday hosted by Lee @ Freshly Pieced

Thursday, February 28, 2013

It's A Scrapful Life: March

Greetings!  I am getting things organized over here and boy do I like making lists!!  I saw Judy's POST about listmaking in January and I knew I had to join up. You list the 4 things you want to accomplish for the month.  It shortens my UFO list to give me focus.  You can see the list-makers list HERE.

Things to Get Done:
1.  Make my monthly blocks:  Sugar Block Club (Block 2 & 3), Craftsy 2013 BOM (Block 1-3), Legacy Sampler BOM (Block 6 + 4 extra blocks), and Catch-up on the Skillbuilder Series at Pileofabric!

2.   Christmas Advent Calendar:  I found a random spool of thread when I was cleaning things out that matches the quilt!!!

3.  Finish 2 additional UFO's

March Scrap Challenge:
So I am back again with my own challenge for March.  I have yet another bundle of that fabric left over from a binge on Moda Scrap Bags a couple of years ago.   This month I am hoping to do a couple of different projects that are Christmas themed.  Any Suggestions?

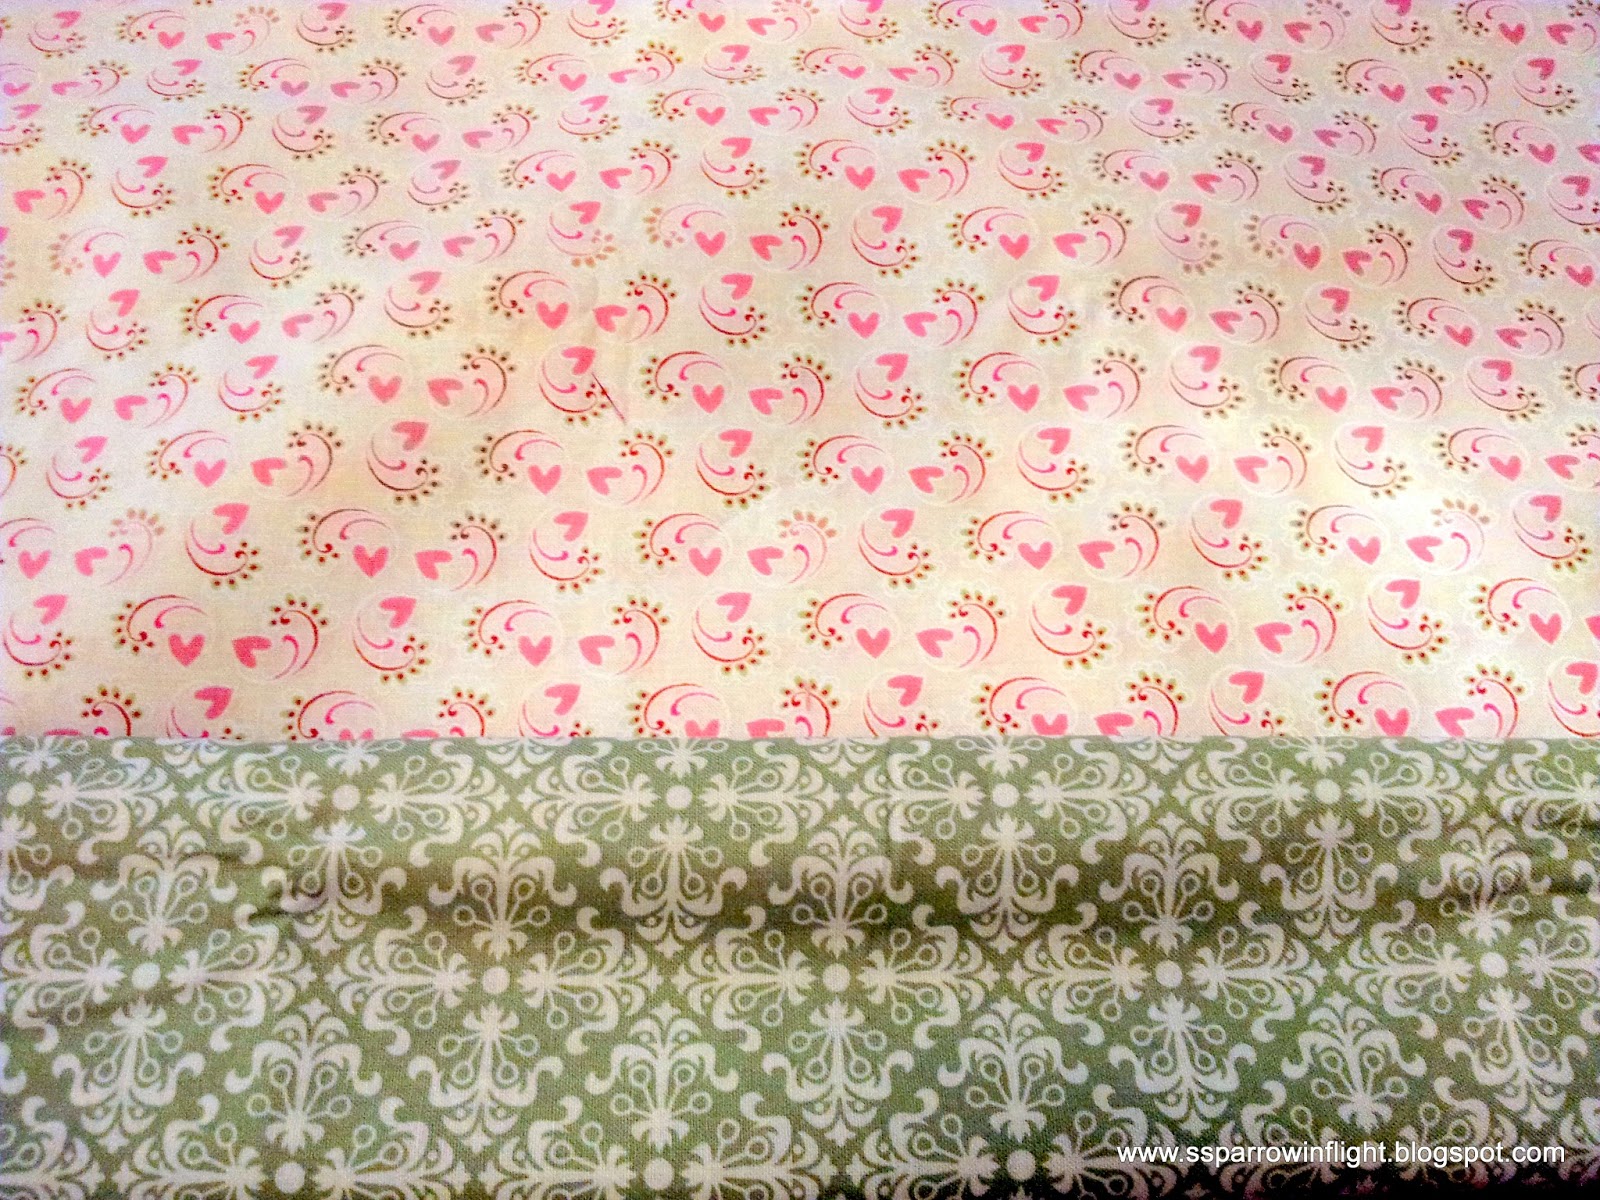
Here is my scrap challenge fabric for March:

Kansas Troubles, a couple lines
February Recap:


* Shanna
Okay, now your turn, shop your stash and scraps, what will you challenge yourself with this month?  If you have time, link up your posts each month with your own personal challenges.  Check out Flickr group:  A Scrapful Life.

Tuesday, February 26, 2013

Part 2: HST String Quilt Tutorial

Now that you have completed your HST Blocks we can move on to assembling the design.  To view Part 1:  HST String Block Tutorial, please see last Tuesday's Post HERE]

Materials Needed to complete quilt:
5/8 yard Bright print  for binding
1 1/2 yards  Coordinating Print for Border
2 yards Backing fabric for this project

Cutting mat, Ruler, & Rotary cutter
Sewing machine, thread
Iron & starch spray
Batting of your choice

Cut:
8- 2 1/2" X WOF strips for binding from "Bright Print" or another totally unrelated fabric
5- 4 1/4" X 50" strips for Border from coordinating fabric that is not your "Bright Print" and not your Coordinating Solid, this can be a fabric that was used in scrap materials in the String block-making.  This fabric will be cut parallel to the salvage.
If you are cutting borders from yardage, measure along the salvage 25", then fold the fabric so the measurement will equal 50" when trimmed.  Use your folded salvage as your constant in measuring because the outside salvage can vary in width, although most are constant, it is better not to take the chance. From the 1 1/2 yards listed you will have some scrap fabric as it is hard to describe the exact measurement of what is required.

Take the 50" length fabric fold in half and then fold in half again, making sure the folded salvage side lines up exactly to keep the fabric straight.  It may help to iron it in place to make sure you have a straight finish cut.  Trim off the salvage edge first, then measure out a 8 1/2" cut, subcutting into 4 1/4" cuts for the final border.  You want to start from the salvage edge and work towards the folded salvage so you can keep the largest piece of fabric for future projects!
Assembling the Quilt Top:
1.  Pick a layout or create your own.  Once you have the HST Strings on your design wall you can figure out if you need to make any modifications to ironing the seams one way or another.  For some, they prefer to just Iron them open to keep from the guesswork.

2.  Sew your blocks in rows, then sewing the rows together.
Choose your design, then start joining 2 blocks at a time

Connect each 2-block segment together to form rows

Once you have all your rows together, it is time to sew your rows into 2-row segments

The other benefit to assembling two rows at a time in the design I have chosen is that it would be easy to flip the direction of  the zigs or the zags or whatever design you have chosen


Next you connect the 2-row-segments together

In this particular quilt I only have 6 total rows, so this is the completed center measures 32.5" X 48.5"

Here is where each quilt will vary.  As I shared yesterday you have several ways you can arrange your blocks.  Lets look at some layout ideas for the whole quilt.
9 options for arranging your HST String Blocks, there are more!
3.  Now you have a completed Inner Quilt top.  Some choose to cut their Border strips lengthwise to get a seamless border, I just happen to be one of those persons.  There is of course some pros and cons to this method; you will want to watch that the pieces do not stretch or ripple when adding to the main quilt top.  You may of course choose to cut your border fabric perpendicular to the salvages or decide to skip the borders altogether!
Finish quilt top measuring 40" X 56" for toddler bed or crib quilt
Finishing the Quilt:
1.  If you have not already assembled your backing, this is the time to do so.  There is of course several methods to this process, just be sure that your backing is 2 inches larger than your Quilt top on all sides.  Also, check out Craftsy's free class on Creative Quilt Backs!

2.  Layer a sandwich of:  Quilt top, batting and  then backing fabric on the bottom with wrong side facing down, towards the batting.  

3.  Baste using traditional thread basting, pins or spray basting.  There are several tutorials out there so I will not cover that today. Check out: Crazy Mom Quilts (Pin Baste), or Stitch in Color (Spray basting) for more information.

4.  Once you have basted the three layers together it is time to choose your quilting process, please consider checking out the Free Motion Quilting Project out, which has literally hundreds of different stitches.  She also has excellent tutorials via video that has been posted to Youtube.

5.  Once you have the Top stitching complete, it is time to trim your quilt and add the binding.
(Check out: Carolina Fair Designs,  Crazy Mom Quilts, Cotton Creek Sewing, or Jaybird Quilts for tutorials on Binding prep)

*Shanna
I made this quilt top as part of my "A Scrapful Life" Scrap challenge.  I want to make projects using my scraps and stash, learning to make do with what I already have on hand.  If you would like to see my February post, look HERE.  I have a link up each month and Flickr group:  A Scrapful Life, if you would like to join me, but no pressure, its just a change in mindset for me.

Tuesday, February 19, 2013

Part 1: HST String Block Tutorial


Half-Square Triangle (HST) String Block Tutorial

Inspiration:  Film In The Fridge's String Block

Materials Needed for Whole Quilt:
Bunch of coordinating Scrap pieces,
1 yard Bright print for center strips & binding
1 yard Coordinating Solid for HST Blocks
1 yard Coordinating Print for border
1 yard Muslin or paper for foundation
 Backing fabric

Glue Stick
Cutting mat, Ruler, & Rotary cutter
Pencil or Quilting temporary marker
Sewing machine, thread
Iron & starch spray
Batting of your choice

For 14 blocks Cut:
14- 9"X 9" Muslin squares for foundation piecing, can use paper too
14- 9"X 9" Coordinating Solid Squares
14-2.5" X 13' strips for center of string block
Scrap Strips ranging from 1" to 2" in width

Making Block 1:

1.  Make sure your 9"X 9" foundation blocks for strings are "Starched" as they are easier to utilize and it will help keep it from stretching.

2.  Finding center of  each foundation block,  lightly glue a  Bright print Strip to exact center of each block

3.  Right Sides together line up a Scrap Strip  to the edge of the  Bright print Strip, sew a 1/4" from the edge, then iron it back.  I like to spray with Heavy Starch as I continue the process to keep it from shifting or stretching.

4.  You will continue to add Scrap Strips  to each sides, ironing & starching as you go until the  foundation block are covered on each side of the  Bright print Strip which should still be in the exact center of the block.  You can chain piece your blocks, adding your Scrap Strips  to each sides before ironing & starching, then repeat the process.


Trimming Block 1:


1.  First make sure you starch and give your block a good iron to make sure everything is pressed.

2.  Be sure you have a fresh or sharpened Rotary blade in your cutter.  Because you are dealing with several layers of fabric you want to make sure the blade is sharp and cuts cleanly.

3.  Flip your block over.

4.  Next you will use your cutting mat to line up the corners; you will not be just trimming where you see the foundation block because there may have been some shrinkage as it dips into the valley between the stitch lines.

5.  Line up your ruler up using the lines on the cutting mat, then you will make your first trim.  I have not picked up a rotating cutting mat yet, but I use a smaller cutting mat for trimming that I can just turn instead of re-positioning the block for trimming up the next side.

6.  Trim up the next 3 sides, making sure that your block measures 9"X 9".  We pick this measurement to have an unfinished HST Block measuring 8.5" X 8.5", the finished HST block measuring 8" X 8" when it is all said and done.

If you would like a different measurement for a finished block size adjust your string blocks to measure 1" more on each side than your desired finished block size.

 You can use the strings blocks at this point and they will turn into a mighty fine project or move on to the further directions below to make them into HST String Blocks.


Completing a HST String Block:


1.  If you used paper as your foundation, this is the time to remove it from the String Block.

2.  Take each 9"X 9" Coordinating Solid Square and mark it from one corner to the opposite [see photo 2 below].  Mark all solid squares at once.

3.  With right sides together, match a String block and a marked solid square, making sure the marked side is up! [Photo 3]

4.  Sew 1/4" on each side of the line [Photo 4], iron seams to set and then cut apart using a ruler along the marked line [Photo 5]

You will end up with 2 HST String blocks [Photo 6] when you iron to one side (this may depend on how you plan to assemble your quilt as well) or iron seams open if you prefer.  Be sure to spray with starch.

Product:


 Here are some ideas of the kind of blocks you can make:

 Return for PART Two next Tuesday, when we shall complete a quilt top from these blocks.

Click HERE for part Two!
*Shanna
I made this block as part of my "A Scrapful Life" Scrap challenge.  I want to make projects using my scraps and stash, learning to make do with what I already have on hand.  If you would like to see my February post, look HERE.  I have a link up each month and flicker group if you would like to join me, but no pressure, its just a change in mindset for me.

Thursday, January 31, 2013

It's A Scrapful Life: February

Greetings!  I am getting things organized over here and boy do I like making lists!!  I saw Judy's POST about listmaking last month and I knew I had to join up. You list the 4 things you want to accomplish for the month.  It shortens my UFO list to give me focus.

So Getting it Done:

1.  Sugar Block Club, Block 2
2.  Craftsy BOM, Block 1 & 2
3.  Legacy Sampler, BOM Block 5
4.  Complete Easy Street Quilt Lap Quilt

I hope to:

1.  Finish February Scrap Project
2.  Finish January Scrap Project
2.  Finish 2 additional UFO's

So I am also back with my own challenge for February.  I still have some of that fabric left over from a binge on Moda Scrap Bags a couple of years ago, so I endeavor to find something to do with them.   Here is my challenge for February to myself:
1933 by Chloe's Closet (A Moda Line)
What are your suggestions?  Okay, now your turn, shop your stash and scraps, what will you challenge yourself with this month?  Don't forget to link your finished projects up to the Flickr group:  A Scrapful Life

I have not been great about adding pictures of my progress on my January Project, but they will be added later today.  I am getting close to having this one completed!  I am also very excited because instead of purchasing fabric for the sash for Z's Birthday Dress, I found something that would work from my Stash! [see pictures HERE]

*Shanna

Sunday, January 27, 2013

UFO/WIP 5

Well I am pleased that I am making progress on some things but let em be honest, I really need a completed project to make me feel a little better!  It will be a bit before I can pick up more batting so the finished tops do not count until they are quilted and bound with nothing left to do on them.  You can see the full UFO/WIP List I am going off for the Finish-a-long first quarter (with pictures) HERE--to be updated next week!!. So lets get some clothing items completed this week!


Playdate Dress:  I had forgotten about this dress until I was organizing
[Updated: 01/30/2013, new pictures added of Z's Birthday dress]
Z's Birthday Dress:  Bodice is mostly completed, skirt is pinned and fitted to space, Sash is completed.    
Z's Birthday Dress:  A close up of the finished Sash by the cut skirt fabric
 When I pulled the left over yardage out I figured out there was enough to cut the same dress for Z's older Cousin!  She has a birthday this summer, but for now we are just making her a coordinating dress!  I used some of the pink yard I bought a couple of weeks ago for the lining and Sash for her dress.  I haven't decided on if I will use a Zipper, Snaps, buttons or velcro.  What do you think works best for a child?  My husband is voting Zipper for Z, but she is turning 2, her cousin is 5 this summer.  Oh, I was so excited that at the last minute I decided not to order the Sashing fabric because I happened to spy the fabric above in my Stash as I was passing by.  I have all the containers open, lidless, and leaning against the wall to iron, fold and organize any yardage that has meandered out of their place or new items I may have purchased in the past couple of years that are just floating around my craft area.  I have to remember to shop my Stash more often!!
C2's Dress:  Bodice is Assembled, Skirt is cut, Sash is complete, waiting on measurements for length

I am linking up to:
2013 Finish-a-long hosted by Leanne @She Can Quilt (Via Flickr when projects are complete)
UFO Sunday hosted by Leah @ The Free Motion Quilting Project
WIP Wednesday hosted by Lee @ Freshly Pieced

* Shanna
Are you thinking of going scrappy this year?  If you have time, link up your posts each month with your own personal challenges.  Check out January post:  HERE

Tuesday, January 8, 2013

It's A Scrapful Life

So I am working on turning a new leaf after a mini-melt-down on Saturday (Look below).   I am also working steadily to complete the crib quilts.  The top stitching is complete and we are onto the binding portion of the program!  I had thought about machine stitching the binding down to the front, but ti just isn't going to work for these quilts so we just might have to watch Brave every day until the hand-stitching is done!  I am so in-LOVE with this little polka-dot print from Connecting Threads as a part of their Basics line.  I bought a little extra for myself when I purchased these fabrics a couple months ago (don't worry it has been counted) to make a shirt or dress for Ziona.  I am starting on Size 3 Clothes for her for this year since she definitely has 24 months/2T covered!  I don't know when she will fit at this point since she is getting so lean, oh but I digress..."Oh LOOK, something Shiny" gets me everytime.

Some Scrapful thoughts:

I have some of that fabric left over from a binge on Moda Scrap Bags from a couple of years ago so I need to do something with them. I have decided to start a challenge to myself and to those out there in Blog land.  I am not going to have prizes or a giveaway because I think that just might compound the problem.  Although in truth it would help me to de-clutter I just don't want to add to your own clutter or fabric obsession.  So out of curiosity and support I think I will have a Linky party.  I don't know how to make a button if you want one, but I will form a flickr group so we can show off our finished project pictures.  Flickr Group can be found HERE.

For January:
3 or 4 different lines of Moda including Hope, Charity and some others
I am late coming out of the gate, but I am going to try to use these fabrics to complete Bonnie Hunter's Easy Street Mystery Quilt.  I have been downloading the instructions each week, but I am waiting to read them until I am ready to start.  So this will be my challenge to myself this month, what will yours be?  Just post a picture on your blog or on flickr, even if it is a Fat Quarter and share what you challenge yourself to do with it this month.  I will be back at the end of the month with the same challenge for February.

*Shanna